
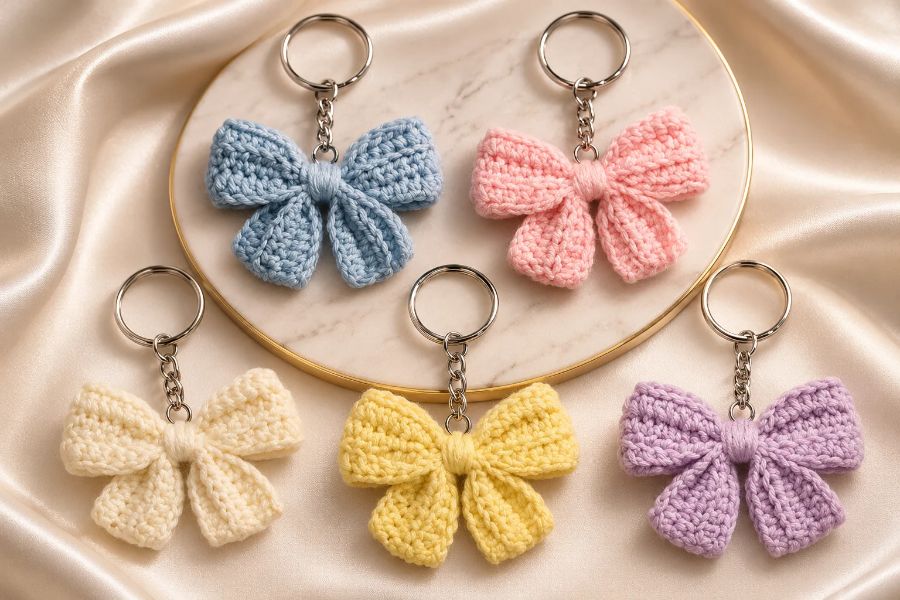
Looking for a quick and adorable crochet project? This easy crochet bow keychain tutorial is perfect for beginners who love making cute handmade accessories. Using simple crochet stitches and a few basic materials, you can create a beautiful bow keychain in just a few minutes.
Whether you want to decorate your handbag, personalize your keys, or make a thoughtful handmade gift, this DIY crochet bow is a fun project to try.
In this step-by-step tutorial, you’ll learn how to crochet a bow keychain using half double crochet stitches, slip stitches, and a simple folding technique.
Materials You’ll Need
Before starting your crochet bow keychain, gather these supplies:
- 4-ply acrylic yarn in your favorite color
- 3.5 mm crochet hook
- 1 metal key ring
- Scissors
- Tapestry needle (yarn needle)
Beginner tip: Choose a light-colored yarn to make your stitches easier to see while learning.
Step 1: Make a Slip Knot and Foundation Chain
Start by making a slip knot on your crochet hook.
- Wrap the yarn around your index finger to create a loop.
- Insert your hook through the loop.
- Yarn over and pull through.
- Gently tighten the slip knot around your hook.
Next, crochet 55 foundation chains.
To make each chain, yarn over and pull the yarn through the loop on your hook.
Continue until you have 55 chains in total.
Step 2: Crochet the First Row
Now it’s time to create the shape of your bow.
Skip the first two chains from your hook and work into the third chain.
To make a half double crochet (HDC):
- Yarn over.
- Insert your hook into the chain.
- Yarn over and pull up a loop.
- Yarn over again and pull through all three loops.
Follow this stitch sequence for Row 1:
| Stitch | Number |
|---|---|
| Half double crochet (HDC) | 6 |
| Slip stitch (SL ST) | 6 |
| Half double crochet (HDC) | 12 |
| Slip stitch (SL ST) | 6 |
| Half double crochet (HDC) | 12 |
| Slip stitch (SL ST) | 6 |
| Half double crochet (HDC) | 6 |
This creates the alternating wider and narrower sections needed to shape your crochet bow.
Note: The original video specifies 55 chains, but the stitch sequence uses 54 stitches after skipping two chains. You may need to adjust the starting chain count slightly to match the stitch sequence.
Step 3: Crochet the Second Row
After completing the first row, chain 1 and turn your work.
For this row, you’ll work into the back loop only (BLO) of each stitch.
The back loop is the loop farthest away from you when looking at the top of the stitch.
Repeat the same sequence:
- 6 HDC
- 6 slip stitches
- 12 HDC
- 6 slip stitches
- 12 HDC
- 6 slip stitches
- 6 HDC
Working into the back loops adds subtle texture and helps give your crochet bow a neat appearance.
Step 4: Crochet the Third Row
Chain 1 and turn your work again.
Continue working in the back loops only, repeating the exact stitch sequence from Row 2.
After completing the third row, chain 1, cut your working yarn, and pull the yarn end through the final loop to secure it.
Your crochet strip is now ready to transform into a cute bow!
Step 5: Hide the Loose Yarn Ends
Using your tapestry needle, weave the loose yarn ends through the stitches on the back of your crochet piece.
Make sure the ends are securely hidden before trimming any excess yarn.
This gives your handmade crochet bow a clean, professional finish.
Step 6: Fold and Shape Your Crochet Bow
Now comes the fun part!
Lay your crochet strip flat and fold both ends inward to form the bow loops.
Adjust the folds until both sides look balanced.
Next, take a separate strand of matching yarn and wrap it tightly around the center of the bow approximately 10–12 times.
This creates the gathered center that gives the bow its recognizable shape.
Tie the yarn securely at the back, using several knots if needed. Trim the excess yarn and hide the ends with a smaller crochet hook or tapestry needle.
Your crochet bow is complete!
Step 7: Attach the Key Ring
To turn your crochet bow into a keychain, attach a metal key ring securely to the center of the bow.
Check that the attachment is strong enough for everyday use.
Now you have an adorable handmade crochet bow keychain that you can attach to your keys, purse, backpack, or favorite bag.
Creative Ways to Use Your Crochet Bow
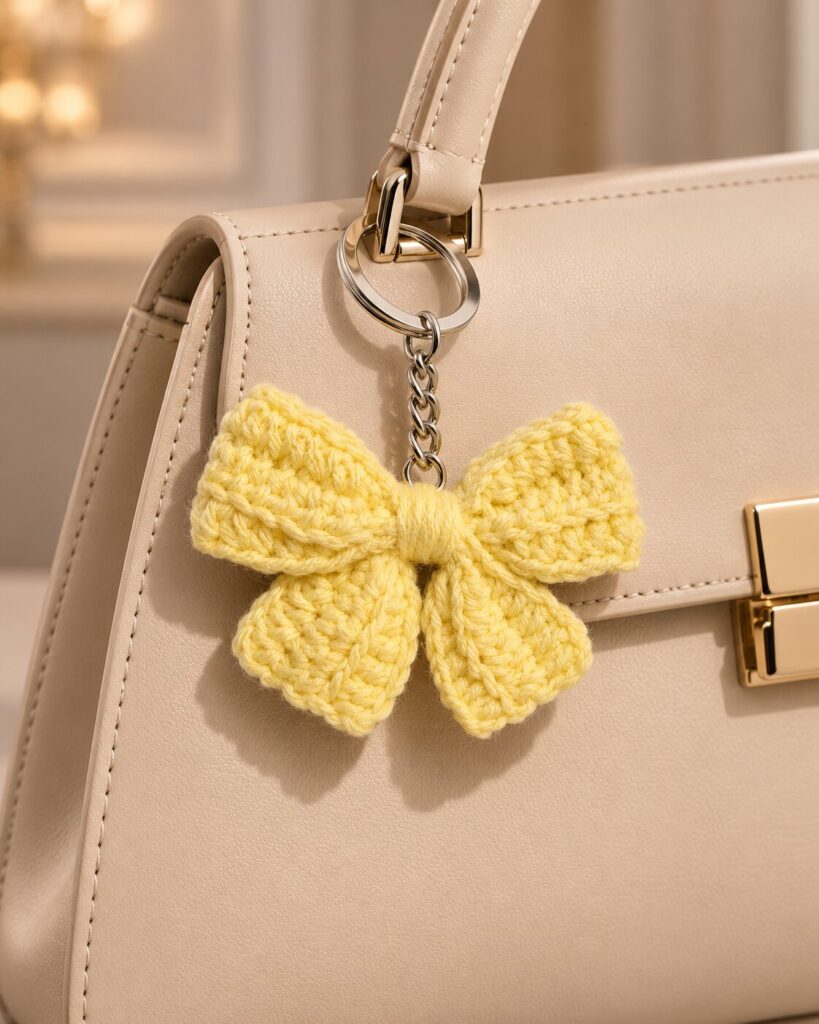
This easy crochet bow isn’t limited to keychains! You can use the same design to create:
- Crochet bow bag charms: Add a cute handmade touch to your favorite handbag.
- Crochet hair accessories: Attach the bow to a hair clip or hair tie.
- Gift decorations: Use small crochet bows to decorate presents.
- Clothing appliqués: Sew a bow onto a sweater, cardigan, or other fabric item.
- Matching accessories: Make several bows in different colors.
Try pastel pink, cream, lavender, bright red, or classic black for different styles.
Frequently Asked Questions
Is this crochet bow keychain beginner-friendly?
Yes! This project uses basic techniques, including chain stitches, half double crochet, and slip stitches.
How long does it take to crochet a bow keychain?
The video presents it as a five-minute project. Beginners may need a little longer while practicing the stitches.
What yarn is best for a crochet bow keychain?
The tutorial uses 4-ply acrylic yarn. Cotton yarn is another option if you prefer a firmer finish.
Can I make the crochet bow bigger or smaller?
Yes. You can experiment with different yarn thicknesses and hook sizes to change the finished dimensions.
Final Thoughts
Making a cute crochet bow keychain is a simple and enjoyable way to practice your crochet skills while creating something beautiful and useful.
With just a little yarn, a crochet hook, and a key ring, you can make an adorable accessory that’s perfect for gifts, handbags, or everyday use.
Choose your favorite yarn colors, experiment with different styles, and create your own collection of handmade crochet bow keychains.

Leave a Reply