
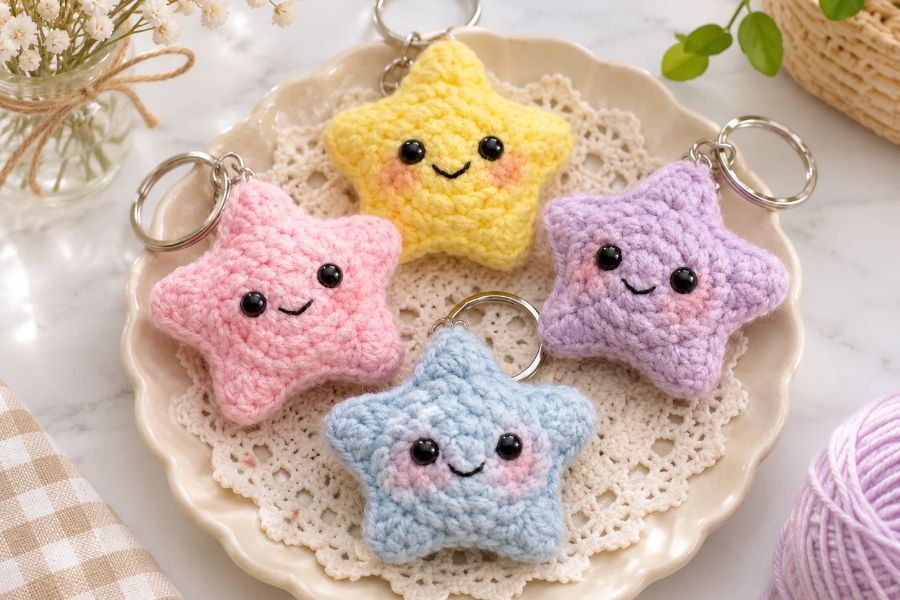
Looking for a fun and easy crochet project? This cute crochet star keychain is the perfect DIY accessory for beginners! With its adorable smiling face, soft texture, and five-pointed star shape, this little amigurumi star makes a lovely addition to your keys, handbag, or backpack.
In this step-by-step crochet star keychain tutorial, you’ll learn how to crochet two star-shaped panels, add a kawaii face, stuff your star, and turn it into a charming handmade keychain.
Whether you’re making a thoughtful gift or looking for a quick crochet project, this beginner-friendly pattern is a wonderful choice.
Materials You’ll Need
Before starting your crochet star keychain, gather these supplies:
- 4-ply acrylic yarn in your favorite color
- 3 mm crochet hook
- Stitch marker
- Safety eyes or black yarn for embroidered eyes
- Black thread for the smile
- Yarn needle
- Fiberfill stuffing
- Scissors
- Keyring or keychain attachment
- Blush for decorating the cheeks (optional)
Beginner tip: Yellow yarn creates a classic, cheerful star, but you can also try pink, blue, lavender, or other colors.
Crochet Abbreviations
Here are the basic crochet stitches used in this tutorial:
| Abbreviation | Meaning |
|---|---|
| MR | Magic Ring |
| CH | Chain |
| SC | Single Crochet |
| HDC | Half Double Crochet |
| DC | Double Crochet |
| SL ST | Slip Stitch |
| INC | Increase (2 SC in one stitch) |
This pattern uses US crochet terminology.
Step 1: Make a Magic Ring
Start by creating a magic ring.
- Wrap the yarn around your index finger to form a loop.
- Insert your crochet hook through the loop.
- Pull the working yarn through and make one chain.
- Work 5 single crochet stitches into the magic ring.
- Pull the yarn tail to close the center.
- Join the round with a slip stitch into the first single crochet.
You now have the foundation of your crochet star.
Round 1: 5 SC (5 stitches)
Step 2: Crochet the Second Round
For the second round, increase in every stitch to expand your circle.
- Chain 1.
- Make 2 SC in the first stitch.
- Repeat the increase in each remaining stitch.
- Join with a slip stitch.
Round 2: INC × 5 (10 stitches)
Use a stitch marker to identify the first stitch of each round.
Step 3: Crochet the Third Round
In this round, alternate between increases and single crochet stitches.
- Chain 1.
- Make 2 SC in the first stitch.
- Make 1 SC in the next stitch.
- Repeat this sequence five times.
- Join with a slip stitch.
Round 3: (INC, 1 SC) × 5 (15 stitches)
Your crochet circle should now be growing evenly.
Step 4: Crochet the Fourth Round
Continue expanding the circle to prepare for the five star points.
- Chain 1.
- Make 2 SC in the first stitch.
- Make 1 SC in each of the next two stitches.
- Repeat this sequence five times.
- Join with a slip stitch.
Round 4: (INC, 2 SC) × 5 (20 stitches)
You should now have a flat circular base ready to transform into a star.
Step 5: Create the Five Star Points
This is where your crochet project starts looking like a cute little star!
Chain 1 to begin.
Work the following stitches into the same stitch:
- 1 SC
- 1 HDC
- 1 DC
- 1 HDC
- 1 SC
This creates your first star point.
Next, make 1 slip stitch in each of the next 3 stitches.
Repeat the star-point sequence followed by three slip stitches until you have five points.
Star point pattern: (SC, HDC, DC, HDC, SC) in one stitch, followed by 3 SL ST.
Repeat 5 times and join with a slip stitch.
Your first crochet star panel is complete!
Step 6: Make the Second Star Panel
Repeat Steps 1–5 to crochet another identical star.
You will need two matching pieces to create the stuffed amigurumi keychain.
Leave a long yarn tail on the first panel for sewing. On the second panel, you can fasten off with a shorter tail.
Step 7: Add a Cute Kawaii Face
Now it’s time to give your crochet star some personality!
Choose one panel for the front.
For the eyes: Position the eyes between rounds 2 and 3, placing one on each side of the center. You can use safety eyes or embroider them with black yarn.
For the smile: Use black thread and a yarn needle to embroider a small curved smile between the eyes.
Secure the thread on the back of the panel.
For a playful finishing touch, you can add a little blush to both cheeks.
Tip: Embroidered eyes are a good alternative to plastic safety eyes, especially when making gifts for young children.
Step 8: Sew the Two Star Panels Together
Place both star panels together with their wrong sides facing inward and their points aligned.
Thread the long yarn tail through your yarn needle.
To join the panels:
- Insert your needle through the back loop of the front panel.
- Pass it through the front loop of the back panel.
- Pull the yarn through gently.
- Continue sewing around the star.
Once approximately 80% of the edges are sewn, stop and prepare to add stuffing.
Step 9: Stuff and Close Your Crochet Star
Add a small amount of fiberfill stuffing inside your star.
Distribute it evenly, including into the five points, to create a soft and slightly puffy shape.
Avoid overstuffing because you want the star points to remain defined.
Finish sewing the remaining opening, secure the yarn, and hide the tail inside the star.
Your adorable crochet star is almost finished!
Step 10: Attach the Keyring
To complete your DIY crochet star keychain, securely attach a keyring to the top point of the star.
Check that the attachment is secure before using your new accessory.
You now have a cute handmade crochet star keychain ready to decorate your bag, keys, or backpack!
Creative Crochet Star Keychain Ideas
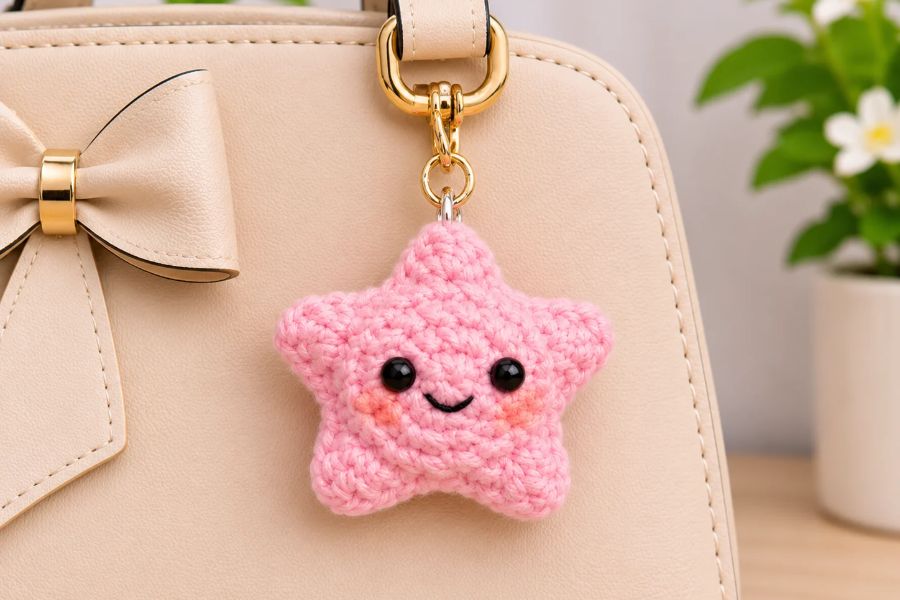
Once you’ve mastered this easy crochet star pattern, try experimenting with different designs:
- Pastel star keychain: Use soft pink, lavender, or baby blue yarn.
- Smiling yellow star: Create a cheerful kawaii star with rosy cheeks.
- Matching star keychains: Crochet several stars in coordinating colors.
- Mini star bag charm: Attach your finished star to a handbag or backpack.
These adorable crochet stars also make thoughtful handmade gifts for friends and family.
Final Thoughts
Learning how to make a crochet star keychain is a fun way to practice basic crochet stitches while creating something adorable and useful.
With just two crocheted star panels, a little stuffing, and a cute embroidered face, you can make your own kawaii amigurumi accessory.
This easy crochet star keychain pattern is perfect for beginners, small handmade gifts, and anyone who loves cute crochet projects.
Happy crocheting! ⭐

Leave a Reply