
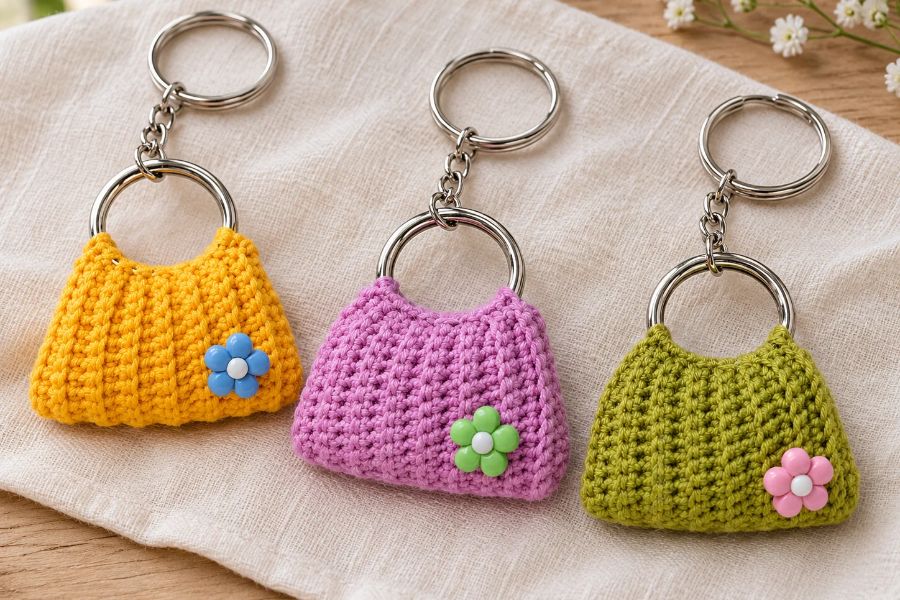
Make a cute miniature handbag with this crochet purse keychain tutorial. Using cotton yarn, simple stitches, and metal rings, you can create a charming accessory for your keys, backpack, or handbag.
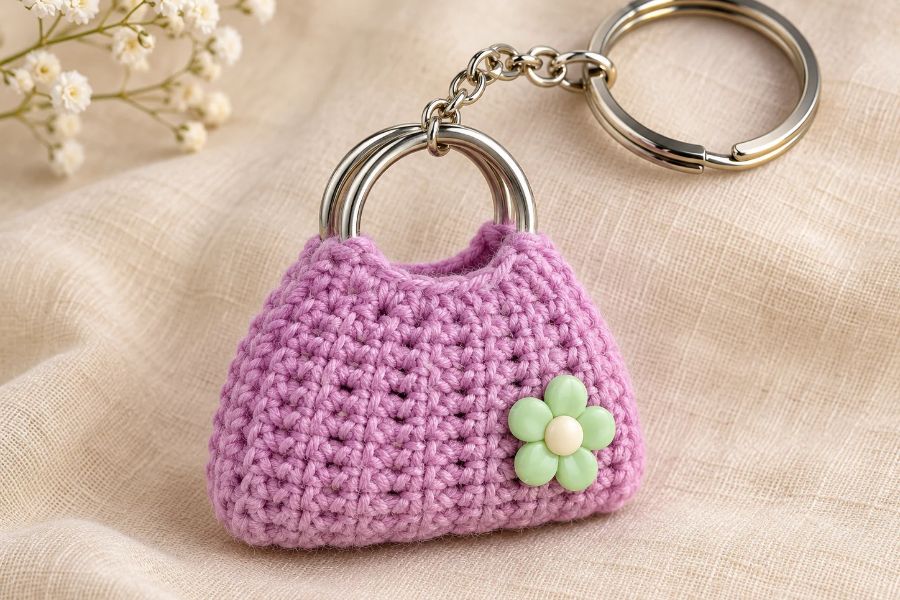
The design features a ribbed texture, two metal ring handles, and a flower button decoration. It’s a lovely handmade gift that you can personalize with your favorite colors.
Materials You’ll Need
- 4-ply cotton yarn
- 2.20 mm crochet hook
- Three keychain clips with rings: two for the purse handles and one for attaching the finished charm
- Polyester fiberfill
- Daisy-shaped button or another small decoration
- Yarn needle
- Scissors
Remove the chain links from the two clips intended for the handles, keeping their rings.
Crochet Stitches Used
This tutorial uses US crochet terminology:
- Ch: chain
- Sl st: slip stitch
- Sc: single crochet
- BLO: back loop only
Working into the back loops creates the purse’s ribbed surface.
Step-by-Step Crochet Purse Keychain Tutorial
1. Connect the Two Handle Rings
With a loop on your hook, attach the yarn to the first metal ring using a slip stitch. Position the yarn away from the ring’s thin opening or joining point.
Make 25 chains, then attach the chain to the second ring with a slip stitch.
According to the tutorial, the starting chain determines the purse’s height. Increase the chain length for a taller version.
2. Work the First Row
Turn the ring so you can work back along the foundation chain.
Starting with the first chain beside the ring, work 25 single crochets along the chain, following the transcript’s stitch count. Do not count or crochet into the slip stitch used to attach the ring.
At the opposite end, make a slip stitch through the metal ring to secure the row.
3. Create the Ribbed Fabric
Turn the rings and crochet piece together.
Work one single crochet into the back loop of each stitch across the row. You should have 25 single crochets.
After the final stitch, make a slip stitch through the ring at that end, then turn the work again.
Repeat this process:
- Work 25 single crochets in back loops only.
- Slip stitch through the ring at the end.
- Turn the piece.
Remember to work the final single crochet before the previous row’s joining slip stitch. Missing this stitch can gradually narrow your fabric.
4. Complete 17 Rows
Continue until you have 17 rows in total, as demonstrated in the tutorial.
The number of rows controls the purse’s width. Add rows for a wider bag, maintaining 25 single crochets in every row.
After the last single crochet, slip stitch through the ring. Chain one, then cut the yarn, leaving a long tail for sewing.
5. Fold and Sew the Purse
Fold the crochet piece in half, bringing the two handle rings together.
Using your yarn needle and the long tail, sew one side closed through the inner loops of the corresponding edge stitches. Sew the other side in the same way, leaving the top opening between the handles.
Turn the purse right side out so the seams sit inside.
6. Add Stuffing and Decoration
Insert a small amount of polyester fiberfill through the top opening. Use enough to give the purse shape without stretching the stitches.
Sew a daisy button onto the lower-right corner, or choose another decoration that matches your yarn.
7. Attach the Keychain Clip
Bring the two ring handles together and connect them with the third keychain clip. Weave in any remaining yarn ends.
Tips for Personalizing Your Mini Purse
Try a single neutral shade for a simple accessory or contrasting colors for a playful finish. Change the decoration to a bow, flower, or small charm.
For your first attempt, follow the 25-stitch, 17-row version before experimenting with different proportions.
Your crochet purse keychain is ready to carry, display, or give as a handmade gift!

Leave a Reply