
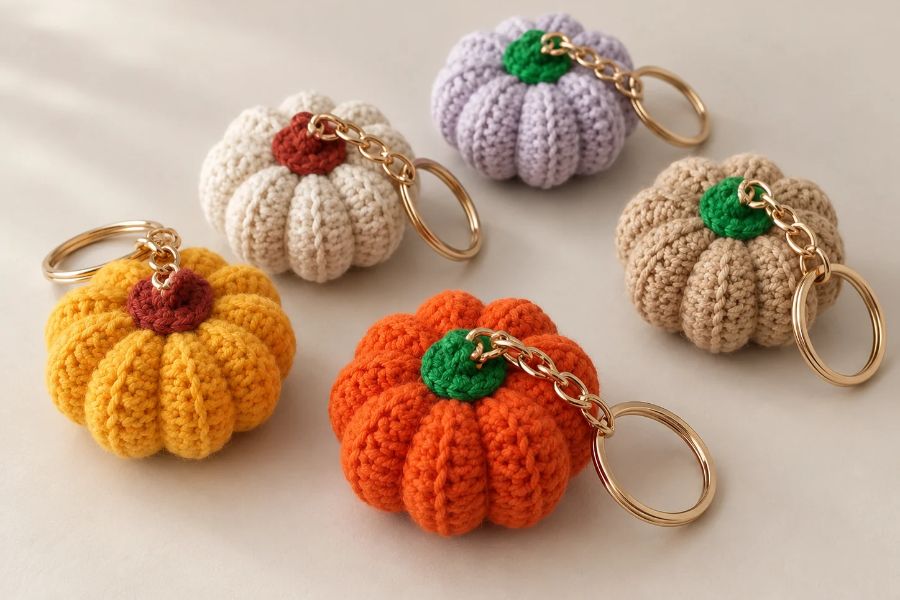
Make a little pumpkin you can carry everywhere with this easy crochet pumpkin keychain tutorial. Using a simple ribbed rectangle, a small amount of cotton yarn, and a few finishing stitches, you can create an adorable autumn accessory for your keys, purse, or backpack.
This project uses basic crochet stitches and simple sewing, making it a good choice for beginners ready to try shaping and stuffing. Choose classic orange yarn or experiment with cream, sage green, and other cozy fall colors.
Materials You’ll Need
Gather these supplies before starting:
- Cotton yarn in your preferred pumpkin color
- Brown or green cotton yarn for the top
- A 2.5 mm crochet hook
- Polyester fiberfill
- A yarn needle
- Scissors
- A keychain ring or clip
Your finished pumpkin’s size will depend on your yarn, tension, and stuffing.
Crochet Abbreviations
This tutorial uses US crochet terms:
- ch: chain
- sc: single crochet
- hdc: half double crochet
- sl st: slip stitch
- BLO: back loop only
- inc: increase—work two stitches into one stitch
Working into the back loops creates the ribbed texture that helps give the pumpkin its shape.
How to Crochet a Pumpkin Keychain
Step 1: Make the Foundation Chain
Using your pumpkin-colored yarn, make a slip knot and chain 18. Keep your chains relaxed so the first row is easy to work.
In the original tutorial, this chain measures approximately 8 cm. Treat that as a reference rather than an exact requirement, since your tension may differ.
The starting chain helps determine the pumpkin’s height. Add more chains for a taller version or use fewer for a smaller pumpkin.
Step 2: Crochet the First Row
Starting in the third chain from your hook, work one hdc into each remaining chain.
You should have 16 hdc.
Chain two and turn. Keep 16 actual hdc stitches in each row; the turning chain does not add another stitch.
Step 3: Create the Ribbed Rectangle
For row two, work one hdc in the back loop only of each stitch across.
Chain two and turn.
Repeat this row until you have 18 rows in total. Count the first row as row one.
You should now have a flexible, ribbed rectangle. The tutorial gives approximately 13 cm for the dimension built by the rows.
The foundation chain controls one dimension, while the number of rows controls the fabric that wraps around the pumpkin. Use an even number of rows, such as 12, 14, 16, or 18, to keep the ribbing consistent.
Step 4: Join the Rectangle
Fold the rectangle so the foundation edge meets the final row.
Slip stitch the matching edges together to form a tube, catching the corresponding loops along both edges. Keep the seam relaxed so it does not pull the fabric out of shape.
Chain one, cut the yarn, and leave a generous tail for sewing. Turn the tube so the joining seam sits inside.
Step 5: Gather and Stuff
Thread a yarn needle with a yarn tail. Weave it in and out around one open end of the tube.
Pull gently to gather the opening, then secure it with a few stitches.
Add fiberfill through the remaining opening. Use small amounts until the pumpkin feels rounded but still soft.
Gather the second opening in the same way and secure it firmly.
Step 6: Shape the Pumpkin Sections
Use a long strand of matching yarn to define the pumpkin’s sections.
Anchor the yarn at the center, take it around the outside of the pumpkin, and pass the needle through the center. Pull gently to create an indentation.
Repeat around the pumpkin, placing the shaping strands between the raised ribbed lines. Space them evenly and adjust the tension until the sections look balanced.
Secure the yarn and hide the end inside.
Step 7: Crochet the Green or Brown Top
The transcript describes a small circular piece for the pumpkin’s top:
- Make a magic ring.
- Work 8 sc into the ring.
- Pull the ring closed and join with a sl st.
- Chain one.
- Repeat [inc, 1 sc] four times around to make 12 sc.
- Join with a sl st and fasten off, leaving a sewing tail.
This makes a small cap rather than a tall stem. Sew it over the gathered center at the top of your pumpkin.
Step 8: Attach the Keychain
Attach your keychain hardware securely at the top. Use several firm stitches through the pumpkin fabric so the attachment holds during everyday use.
Weave in any remaining ends.
Tips for a Neat Crochet Pumpkin Keychain
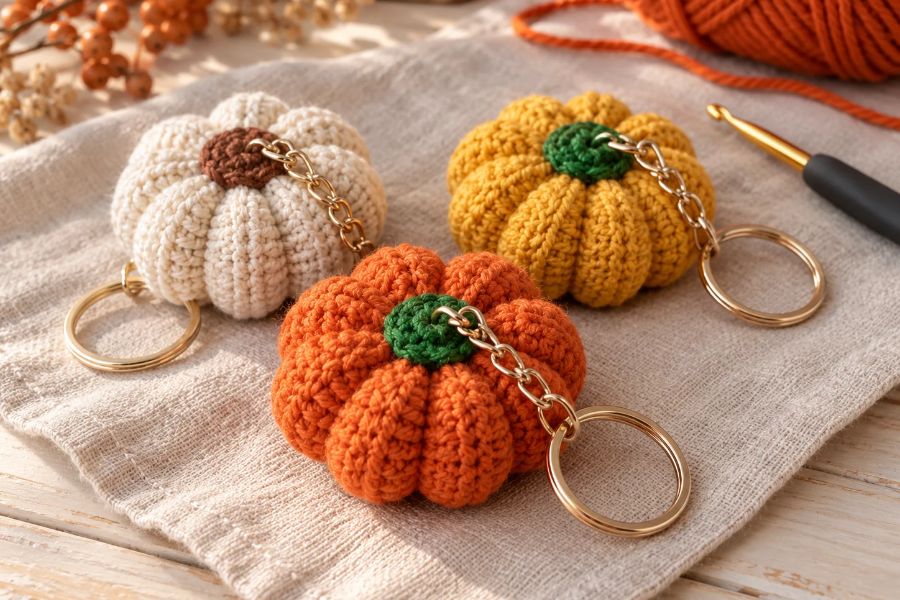
- Count each row: Maintaining 16 hdc keeps the rectangle even.
- Stuff gradually: Too much filling makes the sections harder to shape.
- Shape gently: Increase the yarn tension a little at a time.
- Try different colors: Cream, rust, mustard, and sage create lovely autumn variations.
Your handmade pumpkin keychain is ready! Make one for your bag or crochet a small collection as thoughtful fall gifts.

Leave a Reply