
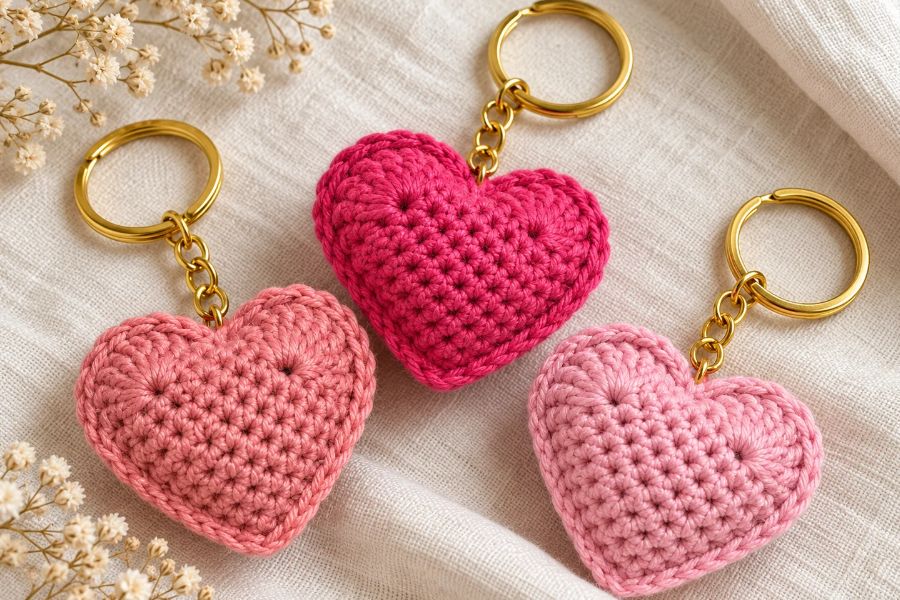
A handmade crochet heart keychain makes a lovely Valentine’s Day gift, bag charm, or small present for someone special. This project uses two matching crochet heart pieces joined together with a little fiberfill for a soft, padded finish.
Follow this step-by-step tutorial to make your own heart keychain using single crochet and treble crochet stitches.
Materials You’ll Need
- Himalaya Himagurumi Koton yarn, or a suitable alternative
- 2.50 mm crochet hook
- Polyester fiberfill
- Keychain ring
- Tapestry needle
- Scissors
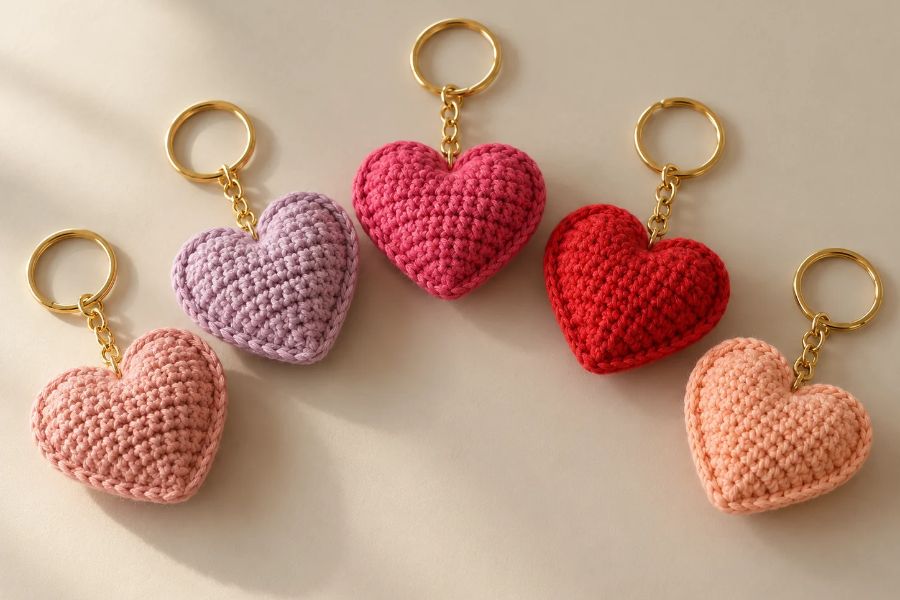
Choose red or pink for a classic heart, or try cream, lavender, or another color you love. Your finished keychain’s size will depend on your yarn, hook, and tension.
Crochet Abbreviations
This tutorial uses US crochet terminology:
- ch: chain
- sc: single crochet
- tr: treble crochet, called “triple crochet” in the transcript
- sl st: slip stitch
To make a treble crochet, yarn over twice, insert your hook into the indicated stitch, yarn over, and pull up a loop. Yarn over and pull through two loops three times.
Step 1: Make the Foundation Chain
Make a slip knot and chain 10.
Keep your chains relaxed enough to insert the hook comfortably. A tight foundation chain can pull the fabric out of shape.
Starting in the second chain from your hook, work 9 single crochets across.
Step 2: Crochet the Base
Chain 1 and turn your work.
Starting in the first stitch, work 9 single crochets across the row. Repeat this process until you have 8 rows in total, including your first row.
The turning chain does not count as a stitch. Count your stitches regularly to keep each row at nine stitches.
Step 3: Shape the Heart Lobes
The rounded top of the heart is formed with two fans of treble crochet stitches worked along adjacent edges of the base.
For the first lobe:
- Turn your work.
- Yarn over twice.
- Work 8 treble crochets into the fifth stitch of the indicated edge.
- Anchor the fan with a single crochet in the ninth stitch, as described in the tutorial.
For the second lobe, work another 8 treble crochets into the indicated midpoint on the adjacent edge. Secure the fan at the end of that edge and finish with a slip stitch at the foundation-chain edge.
Pattern clarification: The supplied transcript repeats part of the lobe instructions and does not clearly identify every edge stitch. The heart needs two lobes; check the video’s visual demonstration for their exact placement before fastening off.
Chain 1, cut the yarn, and weave the loose ends through the back of the piece.
Step 4: Make a Second Heart
Repeat the same steps to create another heart piece:
- Chain 10.
- Work 9 single crochets across.
- Complete 8 rows.
- Add the two rounded lobes.
Keep your tension consistent so both pieces match. Lay them together and check that their edges align before joining.
Step 5: Join the Heart Pieces
Place the hearts together with their wrong sides facing inward.
Insert your hook through corresponding stitches on both pieces and begin joining with single crochet.
Continue around the outline, working through both layers. Where a row edge meets a foundation-chain edge, match the spaces carefully so the seam stays even.
Around the lobes, join corresponding treble crochet stitches one at a time. Work a slip stitch through the matching single crochet stitches at the indentation between the lobes.
Leave an opening for stuffing.
Step 6: Add the Fiberfill
Push small amounts of fiberfill through the opening.
Distribute the stuffing into both lobes and the bottom point. Add enough to give the heart a softly rounded shape while keeping the stitches from stretching apart.
Continue joining the remaining stitches to close the opening.
Cut the yarn, leaving a tail long enough to attach the keychain ring.
Step 7: Attach the Keychain Ring
Use an invisible join to finish the edging neatly, then thread the remaining yarn onto a tapestry needle.
Secure the yarn and bring the needle through the top center of the heart. Attach the keychain ring with several secure passes of yarn.
Weave the remaining tail through the stuffed heart and trim it. Pull gently while finishing so you preserve the heart’s shape.
Your crochet heart keychain is ready to use!
Tips for a Neat Finish
- Count each row: Keep nine single crochets across the base.
- Match both pieces: Uneven tension can make joining difficult.
- Stuff gradually: Small amounts are easier to distribute.
- Secure the ring firmly: Reinforce the attachment before using it.
- Resize carefully: Changing the foundation chain also requires adjusting the rows and lobe placement to preserve the proportions.
Make a matching pair for a thoughtful handmade gift, or crochet several colors to decorate your keys and favorite bags.
Meta description: Learn how to make a crochet heart keychain step by step, from crocheting the heart pieces to joining, stuffing, and attaching the keyring.

Leave a Reply